Upload files to a patient profile
Highlights
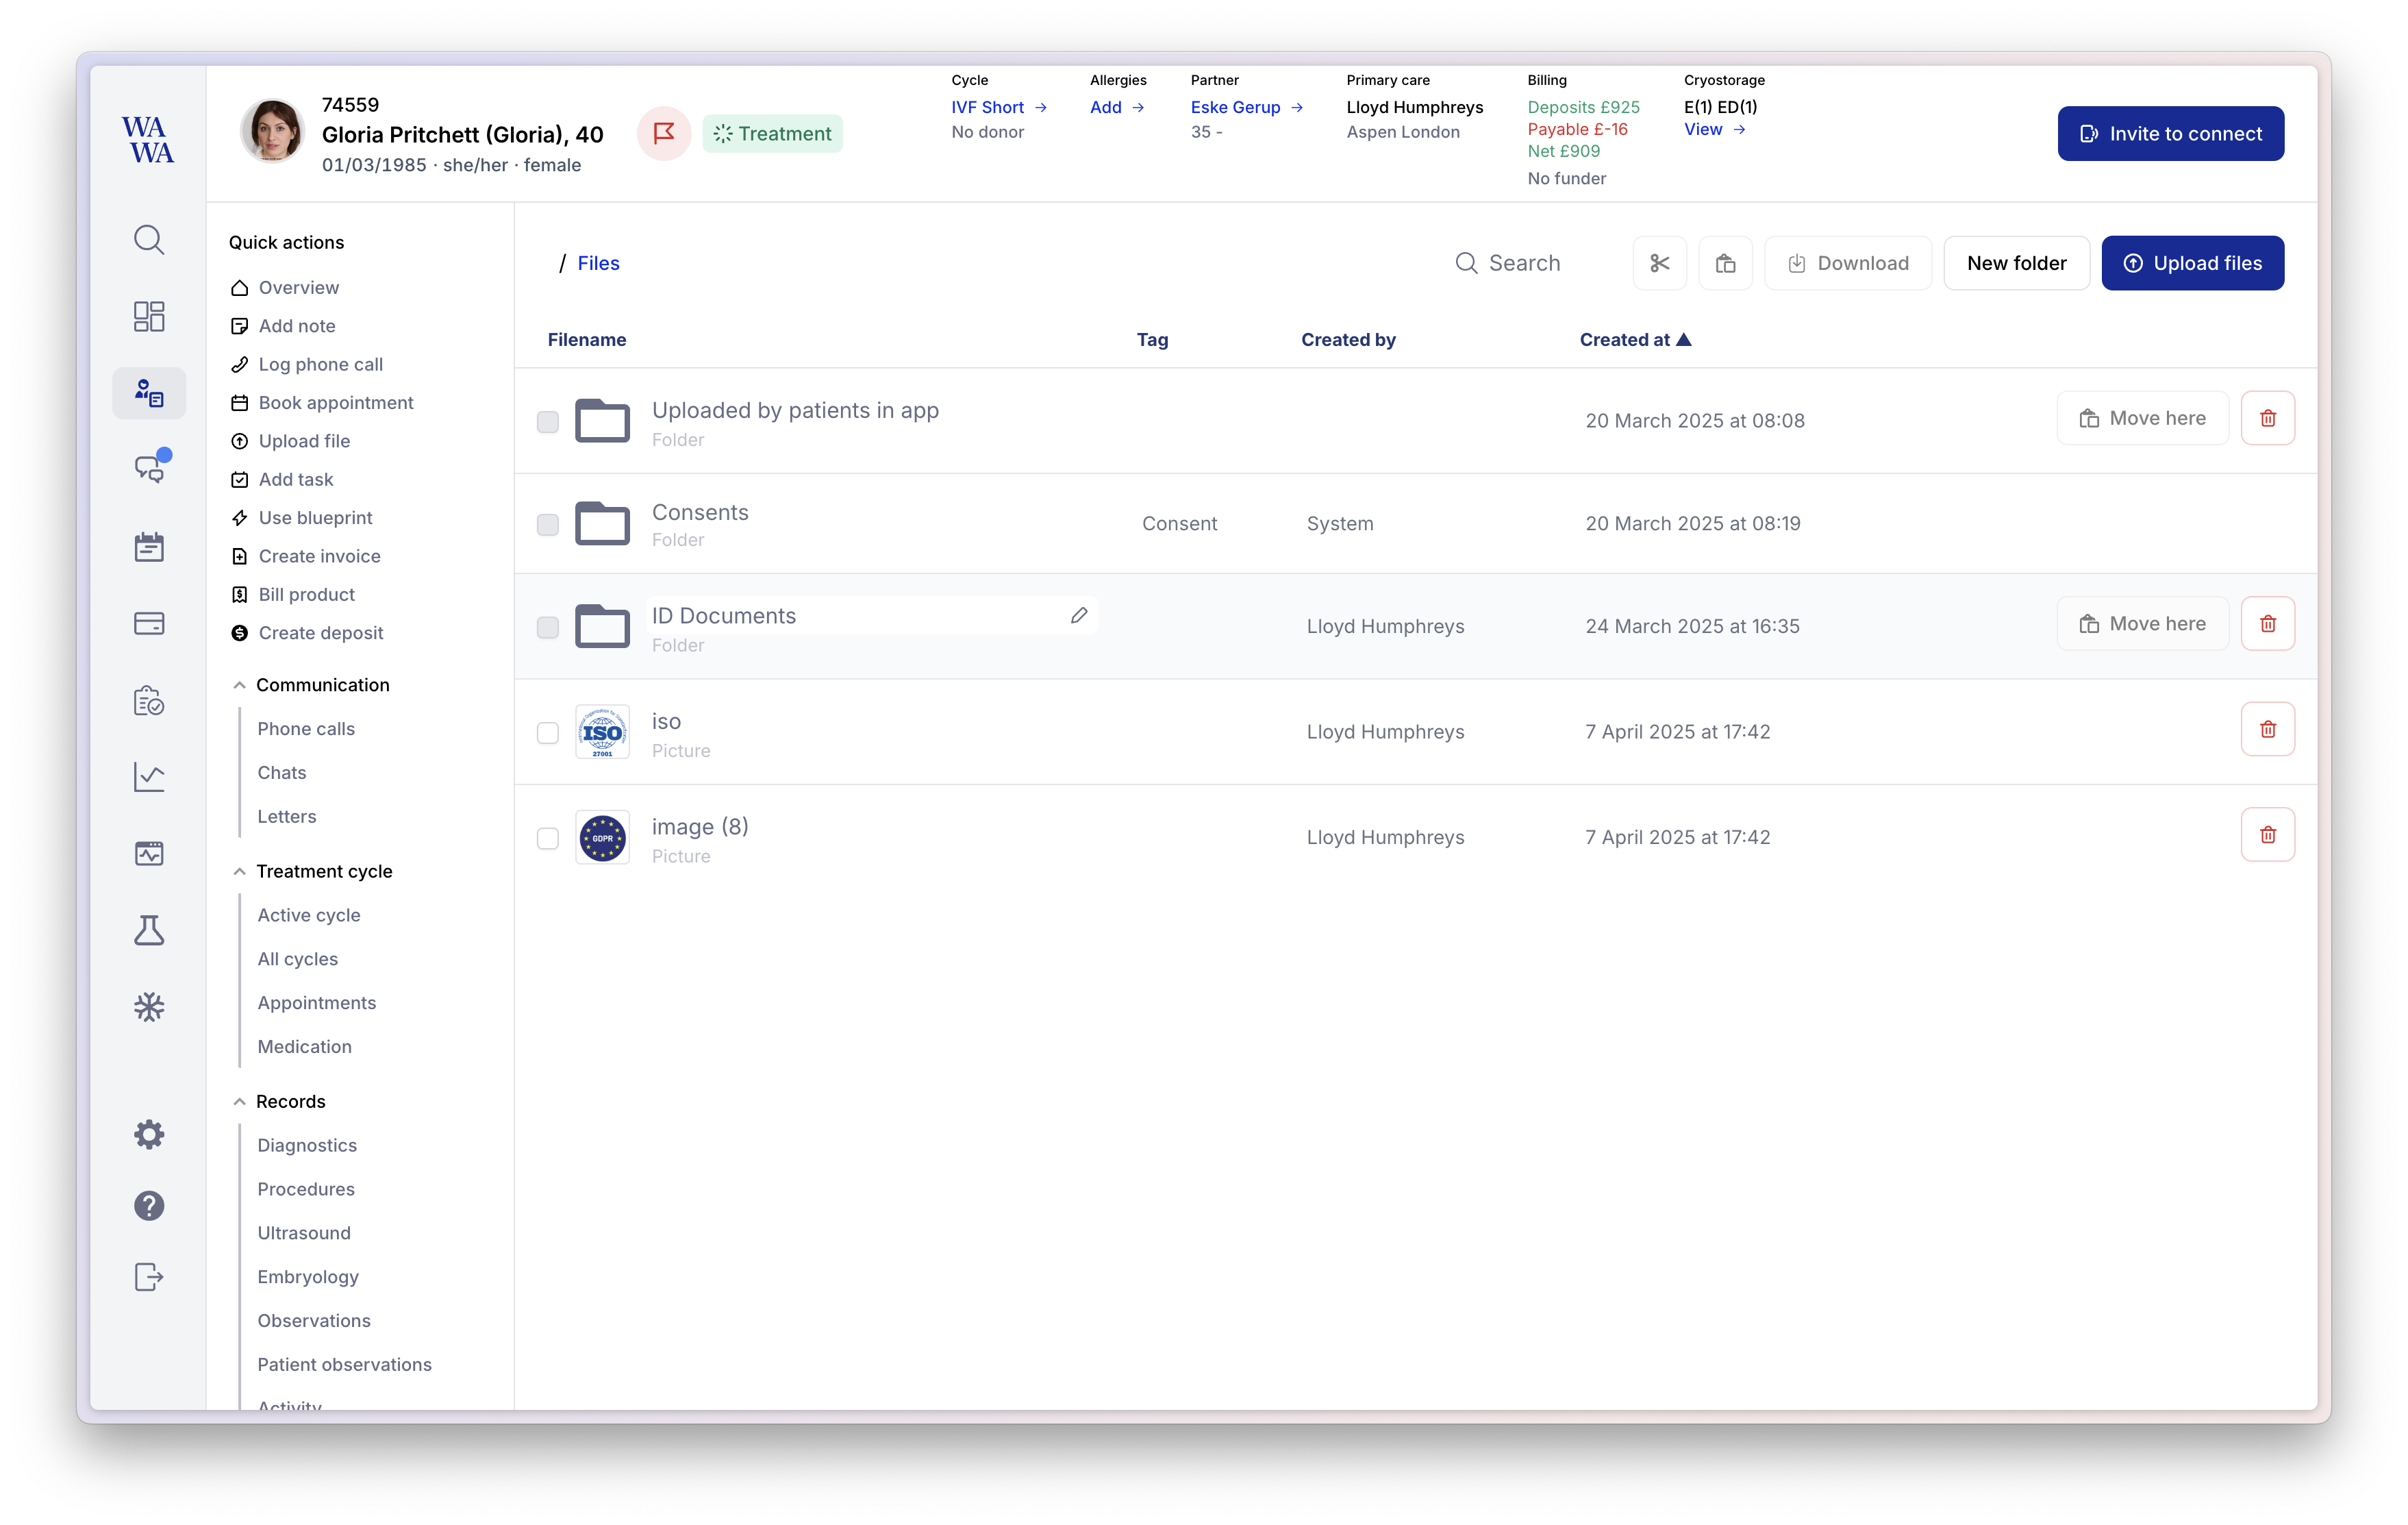
- Uploading files to a patient profile is simple and fast.
- Patient files stored on the patient chart are visible only to you, and not the patient.
- You can upload multiple files at once in the uploader menu.
- Navigate to Patient → Files and click “Upload files” to get started.
- Alternatively, you can use Cmd+K, Ctrl+K or click the search icon in the top left to activate the Command Bar and select Upload File.
- Dragging files into the window will now open up the uploader too, so you don’t even need to click anything!
Automations
- When consents are completed, they’ll automatically be added to the patient files.
- When those consents are obsoleted or replaced, they’ll be updated here too (and the old version will be prefixed with “Obsolete”)
- When patients share Files with you in the app, they’ll appear in your Files list too under “Uploaded by patient in app”.
Quality-of-life improvements
- When renaming them quickly - before you’d have to wait for them all to save, but now you can run through them quickly.
- We hide the file extension when renaming files, so you don’t have to account for it when typing a new name.
- UX improvements to better align with our buttons/iconography etc.